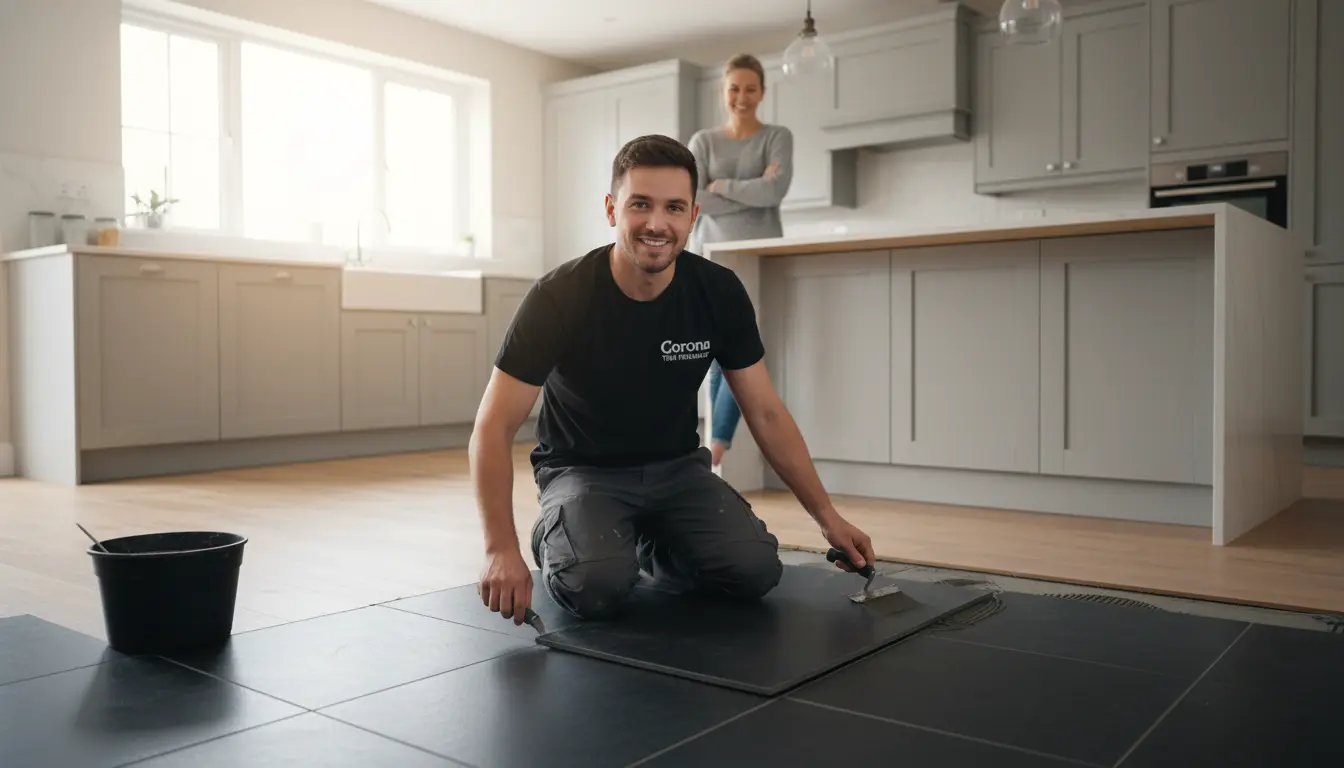
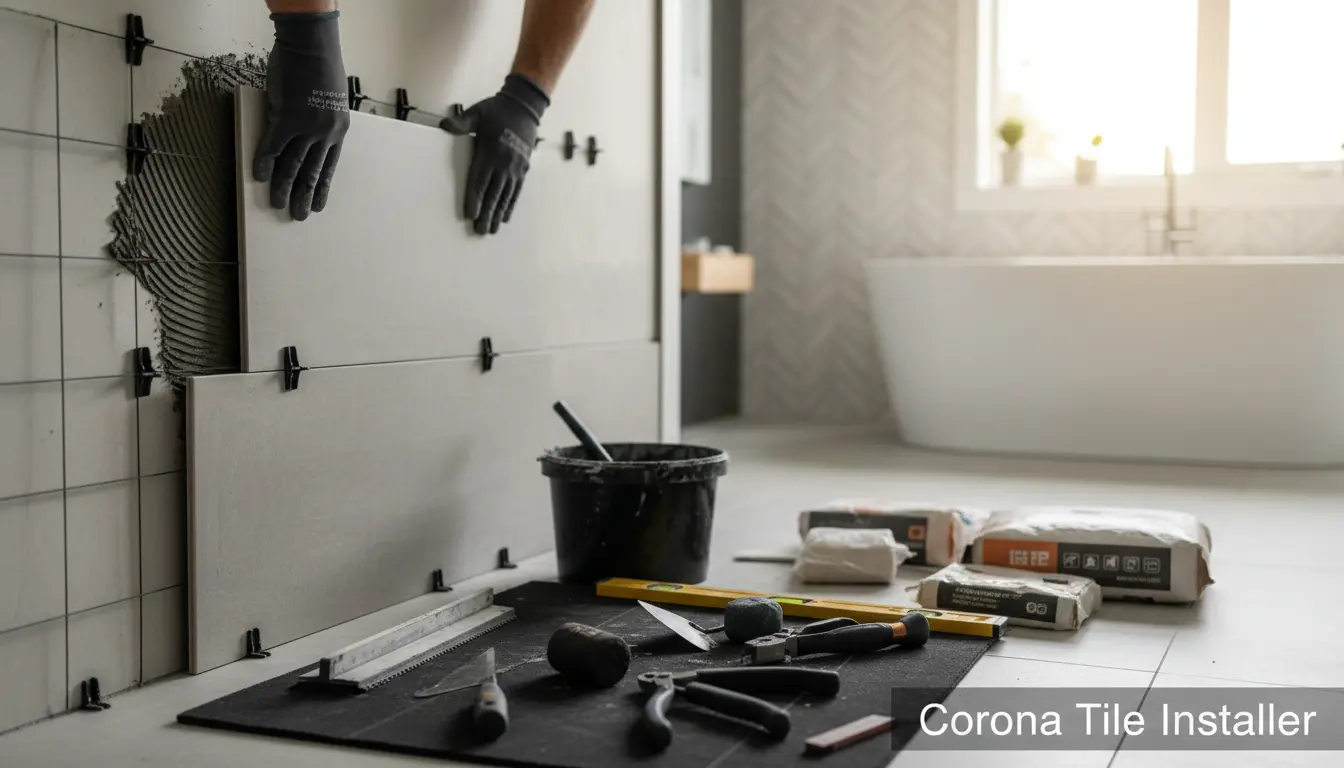
Tiling a bathroom, kitchen, or any space in your Corona home can transform it into a stunning oasis. But as locals know, the scorching Inland Empire summers and occasional earthquakes demand durable, well-installed tiles that withstand the elements. At Corona Tile Installer, we’ve seen it all—from cracked grout in humid showers to uneven floors that trip up families. The good news? Most costly mistakes are avoidable with the right knowledge and professional guidance.
Imagine investing thousands only to deal with bubbling tiles or fading patterns just months later. That’s a nightmare no Corona resident wants. In this guide, our expert team shares proven strategies to sidestep common pitfalls. Whether you’re tackling a DIY project or hiring pros, these tips will ensure your tile installation shines. Let’s dive in and make your space as resilient as the vibrant Corona community.
Understanding Common Tile Installation Errors
Before laying a single tile, it’s crucial to recognize where things go wrong. Many homeowners in Corona rush into projects without proper planning, leading to expensive fixes down the line.
Skipping Proper Surface Preparation
One of the biggest blunders is installing tiles on an unprepared surface. Dust, grease, or uneven subfloors from older Corona ranch-style homes can cause tiles to loosen over time. Always clean the area thoroughly and use a level to check for flatness. For instance, in high-traffic areas like kitchens, failing to address moisture from nearby sinks can lead to mold under tiles—a common issue in our humid climate.
Pro tip: Invest in a moisture meter before starting. If you’re unsure, our team at Corona Tile Installer recommends a pre-installation inspection to prevent water damage that could cost thousands in repairs.
Choosing the Wrong Tile Type for Your Space
Not all tiles are created equal. Porcelain might be ideal for outdoor patios in sunny Corona, but using delicate ceramic in a busy living room invites scratches and chips. Consider foot traffic, humidity, and even seismic activity—Corona’s proximity to fault lines means flexible grout is a must.
When selecting materials, think about sustainability too. Opt for eco-friendly options that align with California’s green building standards. For more on this, explore our sustainable tile sourcing services tailored for environmentally conscious locals.
Essential Planning Tips for a Flawless Tile Project
Planning isn’t glamorous, but it’s the backbone of success. Rushing leads to mismatched patterns or insufficient materials, turning a dream renovation into a budget buster.
Measuring Accurately and Ordering Extra
Measure twice, cut once—that old adage holds true for tiling. In Corona’s varied home layouts, from cozy bungalows to spacious modern builds, inaccurate measurements can leave you short on tiles mid-project. Always add 10-15% extra for cuts, breaks, and future repairs.
Create a detailed layout sketch, accounting for doors, windows, and fixtures. Tools like laser levels make this easier, especially in larger spaces. If you’re planning a living room tile installation, factor in furniture placement to avoid awkward cuts around edges.
Budgeting Wisely: Hidden Costs to Watch For
Tiles themselves are just the start. Factor in underlayment, grout, sealants, and labor. In Corona, where material costs can fluctuate with supply chain issues, unexpected expenses like subfloor repairs can add up quickly.
Set aside a contingency fund of 20% for surprises. And don’t skimp on quality—cheap adhesives might save upfront but fail in our hot weather, leading to redoing the entire job. For commercial projects, check out our commercial space tiling expertise to scale budgets effectively.
Hands-On Techniques to Prevent Costly Mishaps
With planning in place, execution is key. These actionable steps will guide you through the process, minimizing errors that plague DIYers and even some contractors.
Mastering the Layout and Dry Run
Before committing adhesive, do a dry run. Lay out tiles without mortar to visualize the pattern and make adjustments. This is especially useful for intricate designs in Corona bathrooms, where space is often tight.
Use spacers for uniform grout lines—1/8 inch is standard for most floors. For artistic flair, consider mosaic tile designs that add personality without overwhelming small areas.
Applying Mortar and Grout Correctly
Thin-set mortar needs even application with a notched trowel—too much causes lippage, too little leads to hollow spots. In Corona’s variable temperatures, work in sections to avoid drying too fast.
Grout the next day, mixing to a peanut butter consistency. Seal porous tiles immediately to protect against stains from hard water common in our area. A pro trick: Back-butter tiles for better adhesion on larger formats.
For polished finishes, our tile edge profiling service ensures clean, professional edges that elevate any installation.
Handling Cuts and Transitions Smoothly
Tile saws are essential for precise cuts around outlets or doorways. Practice on scraps to avoid chips, particularly with natural stone. Transitions between rooms or flooring types need expansion joints to accommodate movement—vital in earthquake-prone Corona.
If expanding to neighboring areas like Jurupa Valley, ensure consistent styles for a seamless look across properties.
Local Considerations for Corona Homeowners
Corona’s unique environment influences every tile project. Our dry heat can crack unsealed grout, while winter rains test waterproofing. Drawing from years serving locals, we advise using slip-resistant tiles for pool decks and UV-protected ones for sun-exposed exteriors.
Community events like the Corona Street Fair inspire bold designs—think vibrant mosaics echoing local art. For homes near the Prado Dam, prioritize flood-resistant materials. If you’re in nearby spots like Eastvale, similar tips apply, but always consult pros familiar with regional codes.
Venturing to wine country? Temecula residents often seek rustic tiles that complement vineyard vibes, blending durability with elegance.
FAQ: Answering Your Tiling Questions
What’s the most common tile mistake in Corona homes?
Uneven subfloors due to settling foundations. Always level first to prevent cracks from seismic shifts.
How do I choose tiles for a humid bathroom?
Go for glazed porcelain or glass tiles with high water absorption ratings. Seal grout annually to combat mold.
Can I DIY a tile installation, or should I hire pros?
Small projects are doable, but for complex layouts or large areas, hire experts like Corona Tile Installer to avoid costly redo’s.
How long does a professional tile job last in Corona?
With proper installation, 20-50 years. Regular maintenance extends this, especially against our intense sun.
What if I notice tiles loosening after installation?
Check for moisture issues or poor adhesion. Contact a local installer promptly—delaying worsens damage.
Wrapping Up: Tile Smart, Save Big in Corona
Avoiding tile mistakes boils down to preparation, quality materials, and expert input. From measuring meticulously to selecting climate-appropriate options, these strategies empower you to create lasting beauty in your home. At Corona Tile Installer, we’re passionate about helping locals like you achieve perfection without the pitfalls.
Ready to start your project? Contact Corona Tile Installer today for a free consultation. Let’s turn your vision into a durable, stunning reality—serving Corona and beyond with unmatched craftsmanship.